30-Nest如何实现国际化?
语言国际化
如果你的网站要支持多种语言访问,那就要做国际化。
也就是中文用户访问返回中文界面,英文用户访问返回英文界面。
不只是前端要做国际化,后端也要做,不然英文用户用着英文的界面登录的时候,突然返回一个“用户不存在”的错误,是不是一脸懵逼?
今天我们就来学一下 Nest 如何实现国际化。
Nest 里做国际化用 nestjs-i18n 这个包:

我们来试一下:nest new i18n-test
安装 nestjs-i18n:npm install --save nestjs-i18n
在 AppModule 引入 I18nModule:
import { Module } from '@nestjs/common';
import { AppController } from './app.controller';
import { AppService } from './app.service';
import { I18nModule, QueryResolver } from 'nestjs-i18n';
import * as path from 'path';

@Module({
  imports: [
    I18nModule.forRoot({
      fallbackLanguage: 'en', // 默认值
      loaderOptions: {
        path: path.join(__dirname, '/i18n/'),
        watch: true, // 在开发模式下自动重载翻译文件
      },
      resolvers: [
        new QueryResolver(["lang1", "l2"]), //?lang1=en、?l2=zh 可以匹配
      ]
    }),
  ],
  controllers: [AppController],
  providers: [AppService],
})
export class AppModule {}
默认语言是 en,然后资源包在 i18n 目录下。
resolver 也就是从哪里读取当前语言信息,这里是从 query 中读取,比如 ?lang=en、?l=zh
我们添加一下资源包:
i18n/en/test.json
{
    "hello": "Hello World"
}
i18n/zh/test.json
{
    "hello": "你好世界"
}
这里的国际化资源包要在 nest-cli.json 里配置下自动复制:

"assets": [
  { "include": "i18n/**/*", "watchAssets": true }
]
然后改下 AppService:
import { Inject, Injectable } from '@nestjs/common';
import { I18nContext, I18nService } from 'nestjs-i18n';

@Injectable()
export class AppService {

  @Inject()
  i18n: I18nService;

  getHello(): string {
      // t是translate, this.i18n.translate
    return this.i18n.t('test.hello', { lang: I18nContext.current().lang })
  }
}
注入 I18nService,从资源包中取 test.hello 的值,也就是对应 test.json 里的 hello 的值,用当前的语言。
把服务跑起来:npm run start:dev
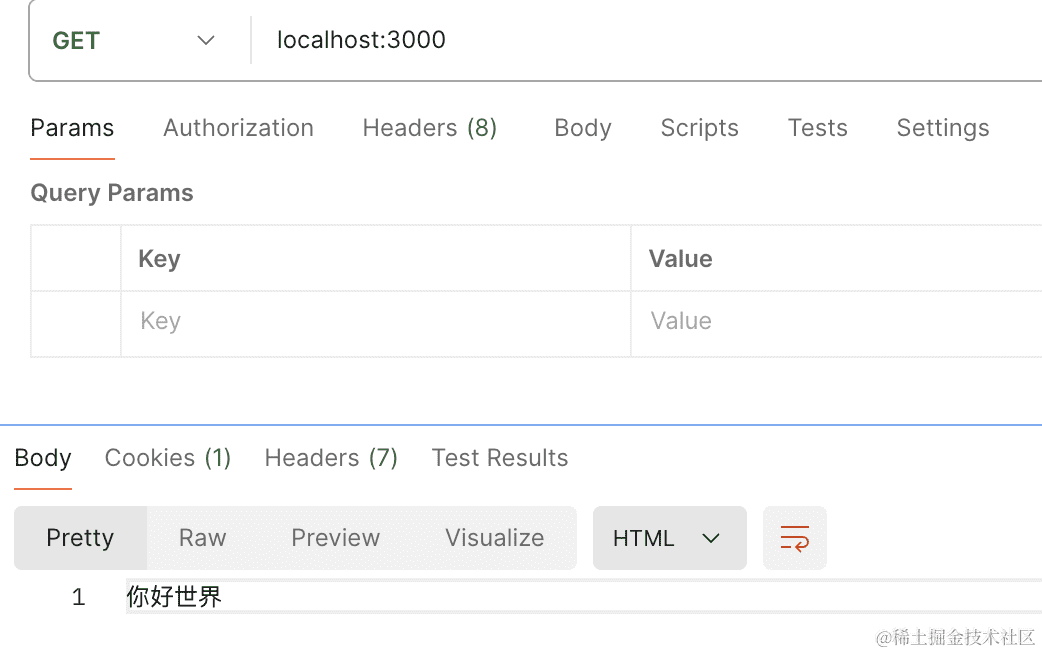
浏览器访问下:
可以看到,文案根据语言环境做了国际化。

还有其他 resolver,比如根据自定义 header、cookie、accepet-language 的 header 等。
import { Module } from '@nestjs/common';
import { AppController } from './app.controller';
import { AppService } from './app.service';
import { AcceptLanguageResolver, CookieResolver, HeaderResolver, I18nModule, QueryResolver } from 'nestjs-i18n';
import * as path from 'path';

@Module({
  imports: [
    I18nModule.forRoot({
      fallbackLanguage: 'en',
      loaderOptions: {
        path: path.join(__dirname, '/i18n/'),
        watch: true,
      },
      resolvers: [
        new QueryResolver(["lang", "l"]),
        new HeaderResolver(["x-custom-lang"]),
        new CookieResolver(['lang']),
        AcceptLanguageResolver,
      ]
    }),
  ],
  controllers: [AppController],
  providers: [AppService],
})
export class AppModule {}
我们试一下 cookie:
在 postman 里访问,添加一个 cookie:


再访问就变成了中文的:
dto国际化
有的同学可能问了,现在是用 I18nService 做的翻译,那不在 IoC 容器里的类,怎么翻译呢?
比如 dto:

它并不在 IoC 容器里,没法注入 I18nService,怎么翻译这些文案呢?
这时候可以用专门的 Pipe。
我们加一个模块:nest g resource user
安装 dto 验证用的包:npm install --save class-validator class-transformer
改一下 CreateUserDto:
import { IsNotEmpty, MinLength } from "class-validator";

export class CreateUserDto {
    @IsNotEmpty({
        message: "用户名不能为空"
    })
    username: string;

    @IsNotEmpty({
        message: '密码不能为空'
    })
    @MinLength(6, {
        message: '密码不能少于 6 位'
    })
    password: string;

}
校验 body 的错误需要全局启用 ValidationPipe:

app.useGlobalPipes(new ValidationPipe());
访问下:

如果是英文网站,需要返回英文的错误信息,但是 dto 不在 IoC 容器里,不能注入 I18nService,怎么办呢?
这时候可以用 nestjs-i18n 提供的 I18nValidationPipe 来替换 ValidationPipe。
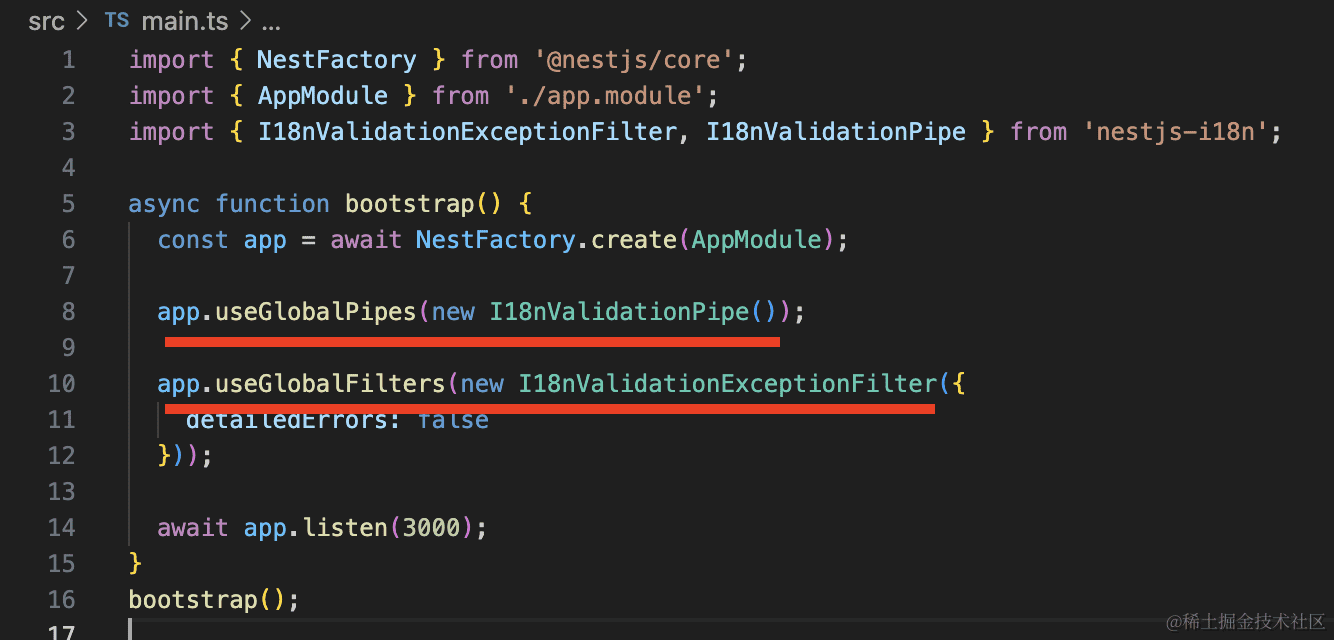
import { NestFactory } from '@nestjs/core';
import { AppModule } from './app.module';
import { I18nValidationExceptionFilter, I18nValidationPipe } from 'nestjs-i18n';

async function bootstrap() {
  const app = await NestFactory.create(AppModule);

  app.useGlobalPipes(new I18nValidationPipe());

  app.useGlobalFilters(new I18nValidationExceptionFilter({
    detailedErrors: false
  }));

  await app.listen(3000);
}
bootstrap();
然后把 message 改为资源的 key:
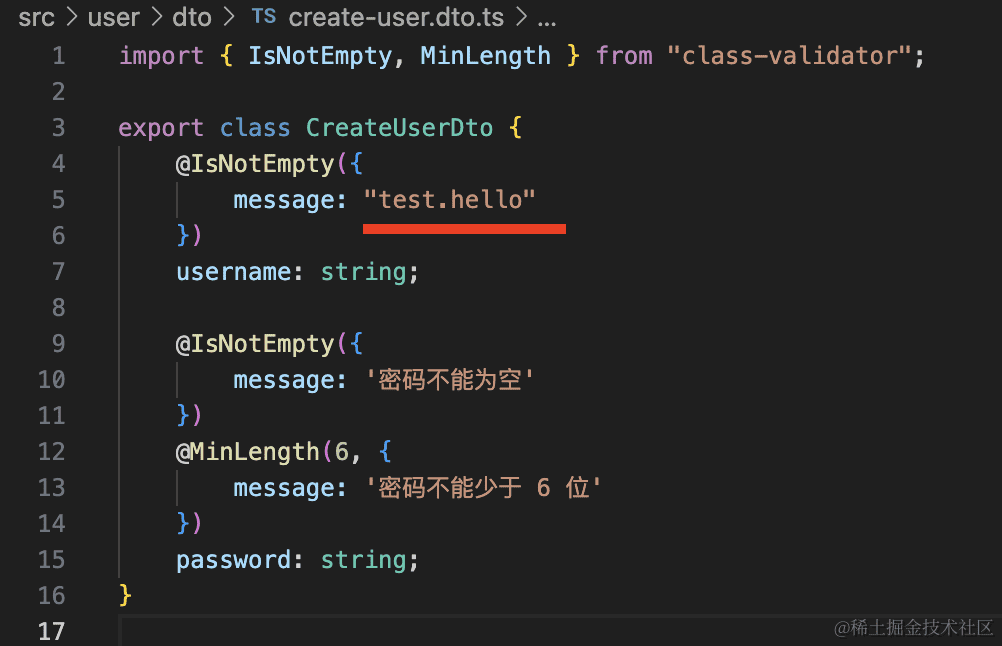
访问下:

可以看到,key 被替换成了具体的文案。
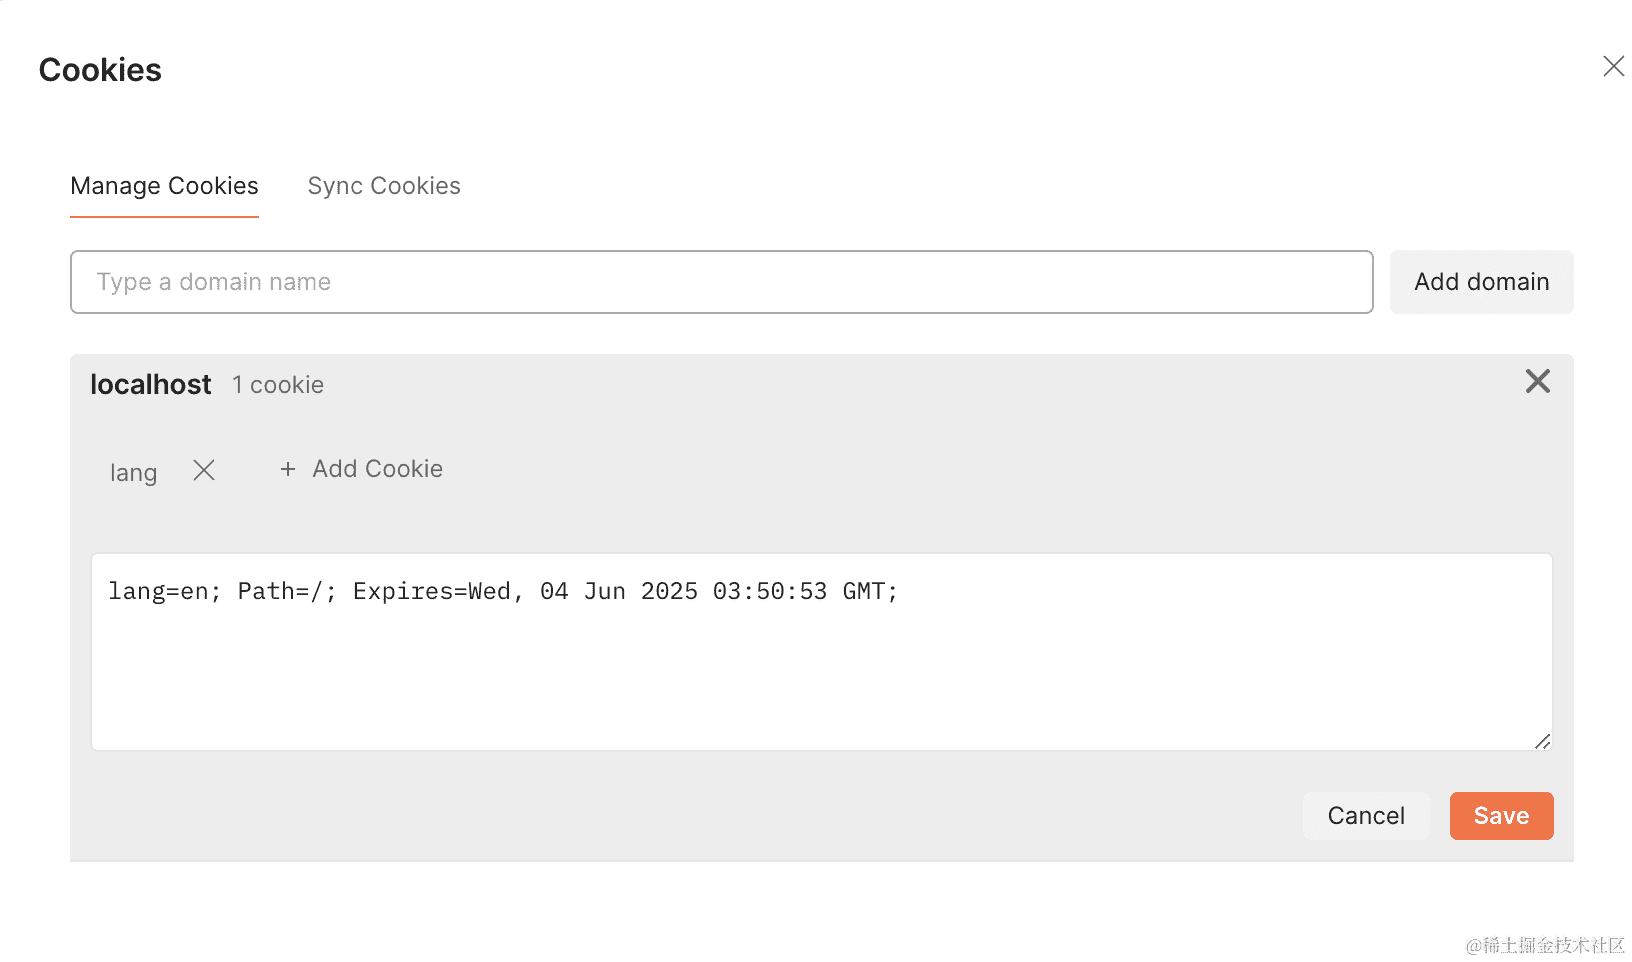
把 cookie 里的 lang 改为 en:


文案也换成了英文。
那接下来我们只要添加对应的资源包就可以了。
添加 i18n/zh/validate.json
{
    "usernameNotEmpty": "用户名不能为空",
    "passwordNotEmpty": "密码不能为空",
    "passwordNotLessThan6": "密码不能少于 6 位"
}
i18n/en/validate.json
{
    "usernameNotEmpty": "The username cannot be empty",
    "passwordNotEmpty": "Password cannot be empty",
    "passwordNotLessThan6": "The password cannot be less than 6 characters"
}
然后改下 dto 里的 message,换成资源的 key:
import { IsNotEmpty, MinLength } from "class-validator";

export class CreateUserDto {
    @IsNotEmpty({
        message: "validate.usernameNotEmpty"
    })
    username: string;

    @IsNotEmpty({
        message: 'validate.passwordNotEmpty'
    })
    @MinLength(6, {
        message: 'validate.passwordNotLessThan6'
    })
    password: string;
}
再次访问下:


中文环境返回中文文案、英文环境返回英文文案,这样就实现了国际化。
传递参数国际化
那如果这个密码位数不一定是 6 位呢?
文案里可以填占位符:

然后用的时候传入参数:
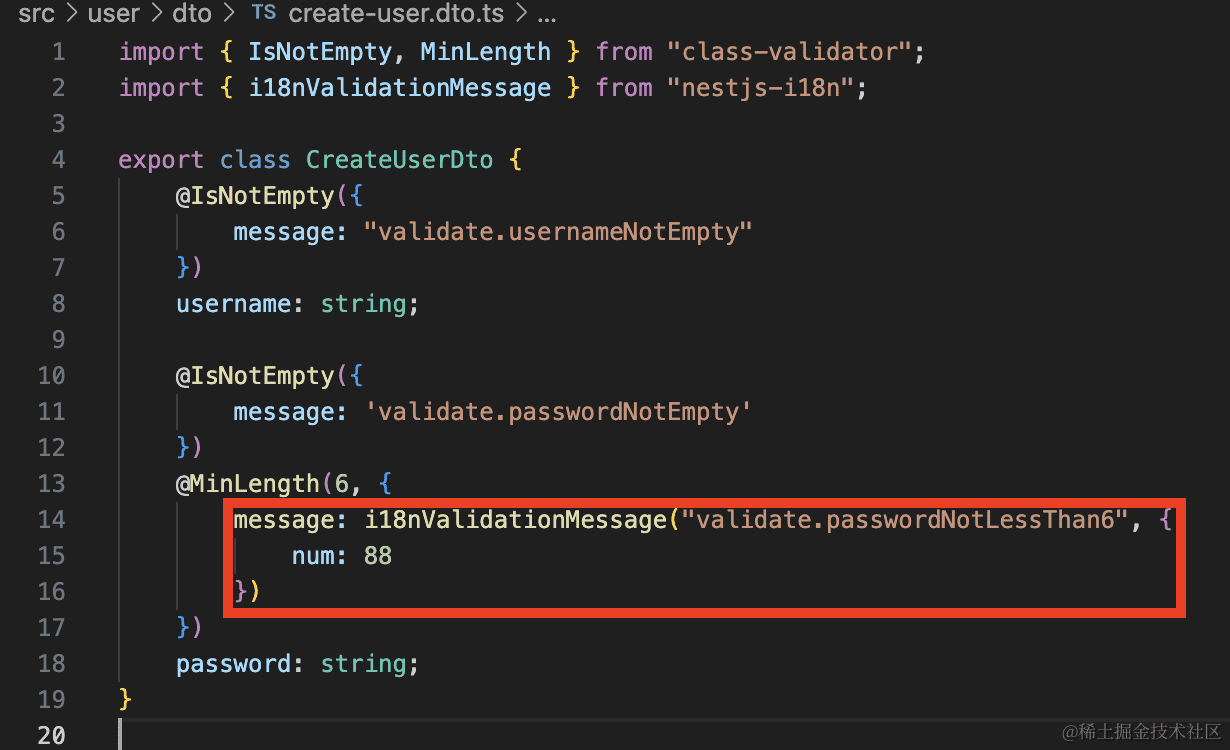
@MinLength(6, {
    message: i18nValidationMessage("validate.passwordNotLessThan6", {
        num: 88
    })
})
试一下:

I18nService 的 api 同样支持这个:
加一下占位符:
然后用的时候传入 args:
import { Inject, Injectable } from '@nestjs/common';
import { I18nContext, I18nService } from 'nestjs-i18n';

@Injectable()
export class AppService {

  @Inject()
  i18n: I18nService;

  getHello(): string {
    return this.i18n.t('test.hello', {
      lang: I18nContext.current().lang,
      args: {
        name: 'guang'
      }
    })
  }
}

案例代码上传了小册仓库
总结
当你的应用需要支持多种语言环境的用户访问时,就要做国际化。
前端要做界面的国际化,后端也同样要做返回的信息的国际化。
nest 里我们用 nestjs-i18n 这个包,在 AppModule 里引入 I18nModule,指定资源包的路径,resolver(取 lang 配置的方式)。
然后就可以注入 I18nSerive,用它的 t 方法来取资源包中的文案了。
dto 的国际化需要全局启用 I18nValidationPipe 和 I18nValidationExceptionFilter,然后把 message 换成资源包的 key 就好了。
文案支持占位符,可以在资源包里写 {xxx} 然后用的时候传入 xxx 的值。
如果你做一个面向多种语言用户的网站,那么国际化功能是必不可少的。